Introduction
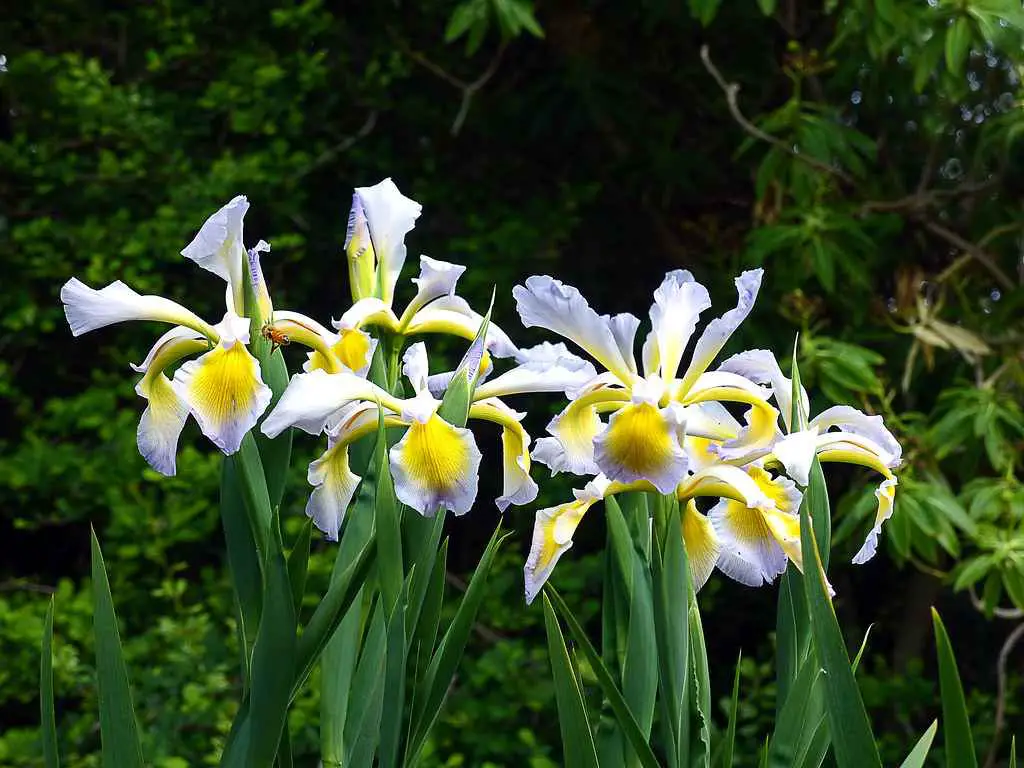
Dutch irises are perennial flowering plants of the genus Iris, native to the Mediterranean region. They are one of the most popular types of irises grown in gardens and are known for their showy flowers in a wide range of colors, including blue, purple, yellow, white, and orange.
Dutch irises are typically grown from bulbs, which are planted in the fall and bloom in the spring. They can grow to be up to 3 feet tall, and their flowers are typically about 4 inches in diameter. Dutch irises are relatively easy to care for, and can be grown in a variety of climates.
| Characteristic | Dutch Iris |
|---|---|
| Latin name | Iris x hollandica |
| Common name(s) | Dutch iris, Dutch bulbous iris, Hollandica iris |
| Plant type | Herbaceous perennial |
| Family | Iridaceae (iris family) |
| Bloom time | Late spring to early summer |
| Flower color | White, yellow, orange, red, blue, purple, and combinations of these colors |
| Flower size | 2-3 inches wide |
| Height | 18-24 inches tall |
| Hardiness zone | 4-9 |
| Sun exposure | Full sun to partial shade |
| Soil type | Well-drained soil |
| Water needs | Moderate watering |
| Propagation | Division of bulbs in the fall or spring |
10 Plants With Multicolored Flowers To Brighten Your Garden
Dutch Iris Leaves
- Narrow and linear
- Bright green in color
- Smooth and glossy on the top
- Slightly glaucous on the underside
- Grow to a height of 15-45 cm (6-18 in)
- Appear in early spring and remain until the plant goes dormant in summer
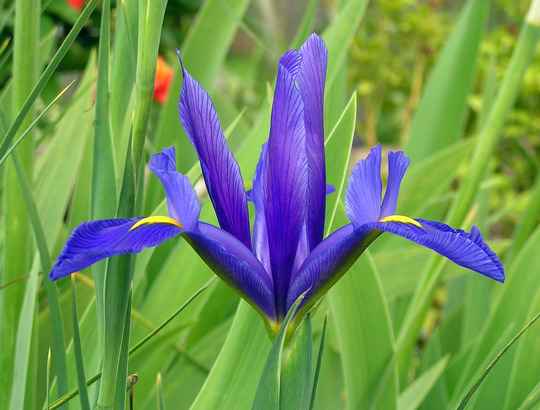
Dutch Iris Flowers
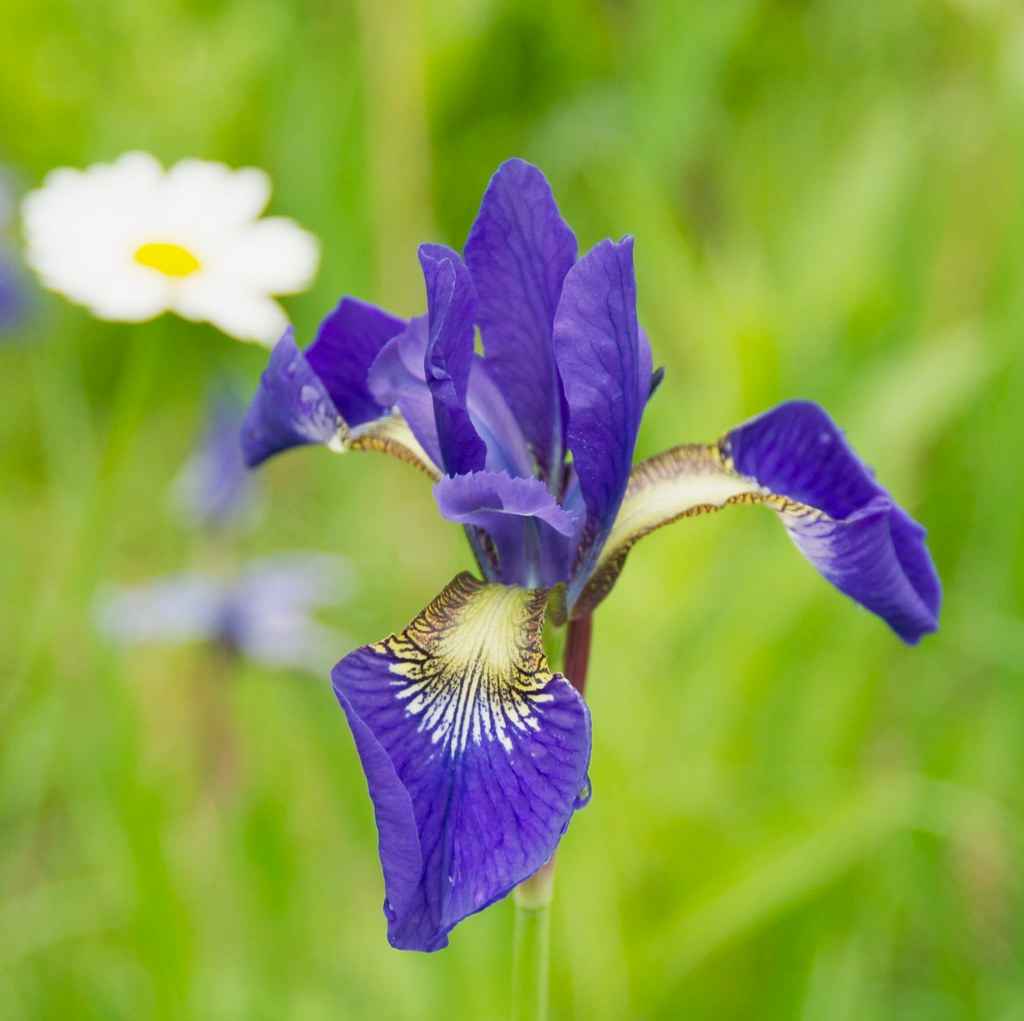
- Large and showy
- Multicolored flowers
- Borne on single stems
- Typically have 3 petals and 3 sepals, which are all fused at the base to form a tube
- The petals are larger and more showy than the sepals
- The flowers are typically blue, but they can also be white, yellow, purple, or bronze
- The flowers are odorless
- Bloom in spring and last for several weeks
- Flower fragrance Unscented
Where to Plant Dutch Iris
- Perennial gardens: Dutch irises are 18-24 inches tall, making them ideal for the middle of a perennial border. They may perennialize in perennial gardens with hot, dry summer soil. Treat Dutch iris as annuals in perennial gardens with moist, cool summer soil.
- Containers: Dutch irises look great in containers, either alone or mixed with other plants to create a living bouquet. Their sturdy stems keep the flowers upright, making it easy to admire their delicate beauty.
- Cutting gardens: The Dutch iris is one of the world’s most popular florist flowers. Their dramatic blooms and long, straight stems make them easy to arrange and long-lasting in bouquets. They also combine beautifully with other early summer flowers and flowering shrubs.
How to Plant Dutch Iris
When to Plant: Plant Dutch iris in the fall, around the same time as tulips and daffodils. For best results, plant the bulbs within a month of receiving them.
Depth and Spacing: Dig a hole 6-8 inches deep and mix in some peat moss or compost to improve drainage. Plant the bulbs pointy end up, about 5 inches deep and 4 inches apart.
Planting Tips: For a stunning display of color, plant Dutch iris in groups of about a dozen bulbs per square foot. Here are some additional tips for planting Dutch iris:
- Choose a sunny spot with well-drained soil.
- Amend the soil with compost or manure before planting to improve drainage and fertility.
- Water the bulbs thoroughly after planting.
- Mulch around the bulbs with a layer of bark chips or straw to help keep the soil moist and suppress weeds.
- Dutch iris are relatively low-maintenance plants, but they will appreciate occasional watering and fertilizing during the growing season.
Unique Planting Ideas
- Plant Dutch iris in a raised bed for a dramatic effect.
- Plant Dutch iris in a rock garden or along a walkway.
- Plant Dutch iris in pots or containers to create a living bouquet.
- Plant Dutch iris with other spring-blooming flowers, such as tulips, daffodils, and hyacinths, for a dazzling display of color.
Dutch Iris Care
Planting
Plant the bulbs pointy side up 3- to 5-inches deep and 3- to 5-inches apart. Dutch irises thrive in loose, well-drained soil with a slightly acidic pH. If your soil is heavy clay, amend it with sand or compost to improve drainage.
Light
Dutch irises prefer full sun, but can tolerate some shade in the afternoon. In warmer climates, afternoon shade may be beneficial.
Water
Dutch irises need regular watering, especially during the first few weeks after planting and during the flowering period. Allow the soil to dry out slightly between waterings. Avoid overwatering, as this can lead to root rot.
Fertilizer
Fertilize Dutch irises every few weeks with a balanced fertilizer. Stop fertilizing after the flowers have faded.
Pests and Diseases
Dutch irises are susceptible to a few pests and diseases, including leaf spots, mosaic viruses, root rot, and iris borers. However, these problems are usually preventable with proper care.
Propagation
Dutch irises can be propagated by division or by seed. To divide the bulbs, dig them up in the fall and carefully separate them into clumps. Replant the clumps immediately. To propagate by seed, sow the seeds in the fall and water them regularly. The seeds will germinate the following spring.
Tips for Success
- Dutch irises prefer well-drained soil. If your soil is heavy clay, amend it with sand or compost to improve drainage.
- Dutch irises need regular watering but avoid overwatering.
- Fertilize Dutch irises every few weeks with a balanced fertilizer.
- Stop fertilizing after the flowers have faded.
- Dutch irises are susceptible to a few pests and diseases, but these problems are usually preventable with proper care.
Common Issues and Troubleshooting
- Yellowing Leaves: This may indicate overwatering. Allow the soil to dry out between waterings.
- No Blooms: Check if the bulbs are planted too deeply; they might need to be shallower.
- Pest Infestations: Use organic pest control methods to protect your Dutch Irises.
Harvesting Dutch Iris Blooms
When your Dutch Irises burst into a glorious display of color, it’s time to harvest some blooms. Here’s how:
- Timing: Wait until the blooms are fully open.
- Cutting: Use sharp, clean scissors to cut the stems at an angle.
- Arranging: Create stunning floral arrangements and enjoy the beauty indoors.
If you want more information about Dutch Iris please check these articles
Conclusion
In conclusion, Dutch Irises are a fantastic addition to any garden, bringing elegance and color. By following the steps outlined in this guide, you can ensure that your Dutch Irises thrive. Remember to choose the right location, plant them correctly, and provide the care they need. With patience and attention, your Dutch Irises will reward you with their stunning blooms year after year.

